Looking for a fun and easy dollar bill origami tutorial? Let’s make a dollar bill origami turtle using a crisp dollar bill. This craft is perfect for beginners and kids, as it requires only simple folds and a bit of patience. Let’s get started!

How To Make An Origami Turtle Using A Dollar Bill
Sometimes, the best crafts are those that don’t need a lot of prep. This origami craft only needs a dollar bill, making it a great way to pass time on a road trip or a rainy day!
We made sure the folds are straightforward and simple enough that kids of all ages can do them â however, young children may need a bit of help from an adult or older sibling. Older kids will be able to complete this tutorial on their own!
Step 1
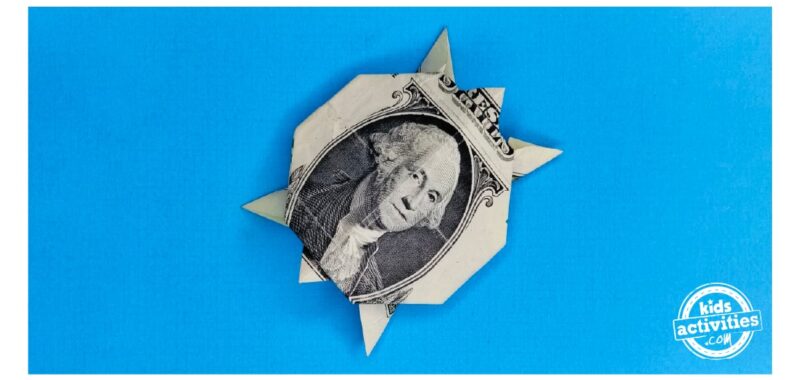
Begin with a crisp dollar bill facing up.

Step 2
Fold the bill in half crosswise, then open it back up.

Step 3
Next, fold the bill in half lengthwise.

Step 4
Open the dollar bill back up.

Step 5
Fold the right corner upward, just past the edge of the bill.

Step 6
Repeat the same fold on the left corner.

Step 7
Open the corners and flip the bill over.

Step 8
Fold the right corner downwards.

Step 9
Repeat on the left corner.

Step 10
Open the corners again and flip the bill over.

Step 11
On the left side, pinch the edges upwards to start shaping the turtle’s body.

Step 12
Push the tip down on the left side to form a triangle shape.

Step 13
Fold the edge a quarter of an inch towards the left tip.

Step 14
Repeat the previous steps on the right side.

Step 15
Rotate the bill so one of the tips points upwards.

Step 16
Fold both the top and bottom tips inward.


Step 17
Fold all corners outwards, as shown in the pictures. These will be the turtle’s limbs. How cute!


Step 18
Flip the bill over. It’s starting to look like a turtle!

Step 19
Fold all four corners in half to create the turtle’s legs.


Step 20
Fold the bottom tip inward, under the dollar.

Step 21
Fold the top tip inward, then fold a part of the bottom tip outward (accordion-fold) to make the tail.


Step 22
Accordion-fold the top tip outward to form the turtle’s head.

Step 23
Your dollar bill origami turtle is complete!

Your dollar bill origami turtle can be used in many creative ways! For example, it makes a unique gift for a friend, a fun bookmark, or even a cute addition to a collection of origami animals.
Active Time
20 minutes
Total Time
20 minutes
Difficulty
easy
Estimated Cost
$1
Instructions
- Begin with a crisp dollar bill facing up.
- Fold the bill in half crosswise, then open it back up.
- Next, fold the bill in half lengthwise.
- Open the dollar bill back up.
- Fold the right corner upward, just past the edge of the bill.
- Repeat the same fold on the left corner.
- Open the corners and flip the bill over.
- Fold the right corner downwards.
- Repeat on the left corner.
- Open the corners again and flip the bill over.
- On the left side, pinch the edges upwards to start shaping the turtle’s body.
- Push the tip down on the left side to form a triangle shape.
- Fold the edge a quarter of an inch towards the left tip.
- Repeat the previous steps on the right side.
- Rotate the bill so one of the tips points upwards.
- Fold both the top and bottom tips inward.
- Fold all corners outwards, as shown in the pictures. These will be the turtle’s limbs.
- Flip the bill over. It’s starting to look like a turtle!
- Fold all four corners in half to create the turtle’s legs.
- Fold the bottom tip inward, under the dollar.
- Fold the top tip inward, then fold a part of the bottom tip outward (accordion-fold) to make the tail.
- Accordion-fold the top tip outward to form the turtle’s head.
- Your dollar bill origami turtle is complete!
MORE DOLLAR BILL ORIGAMI TUTORIALS FROM KIDS ACTIVITIES BLOG:
Did you enjoy making this dollar bill origami turtle?